Simple Single Skein Hat (that turns you in to a knitting fairy!)

I took you with me hiking and shared with you a hat story. Here I am going to unpack that story a bit more and share with you the simple easy instructions for you to make your own. (Watch on YouTube HERE)
Leading up to the overnight hat project was a previously knitted gift and all the fun surrounding it. So let me start there so you will understand why I am breaking one of my knitting rules…
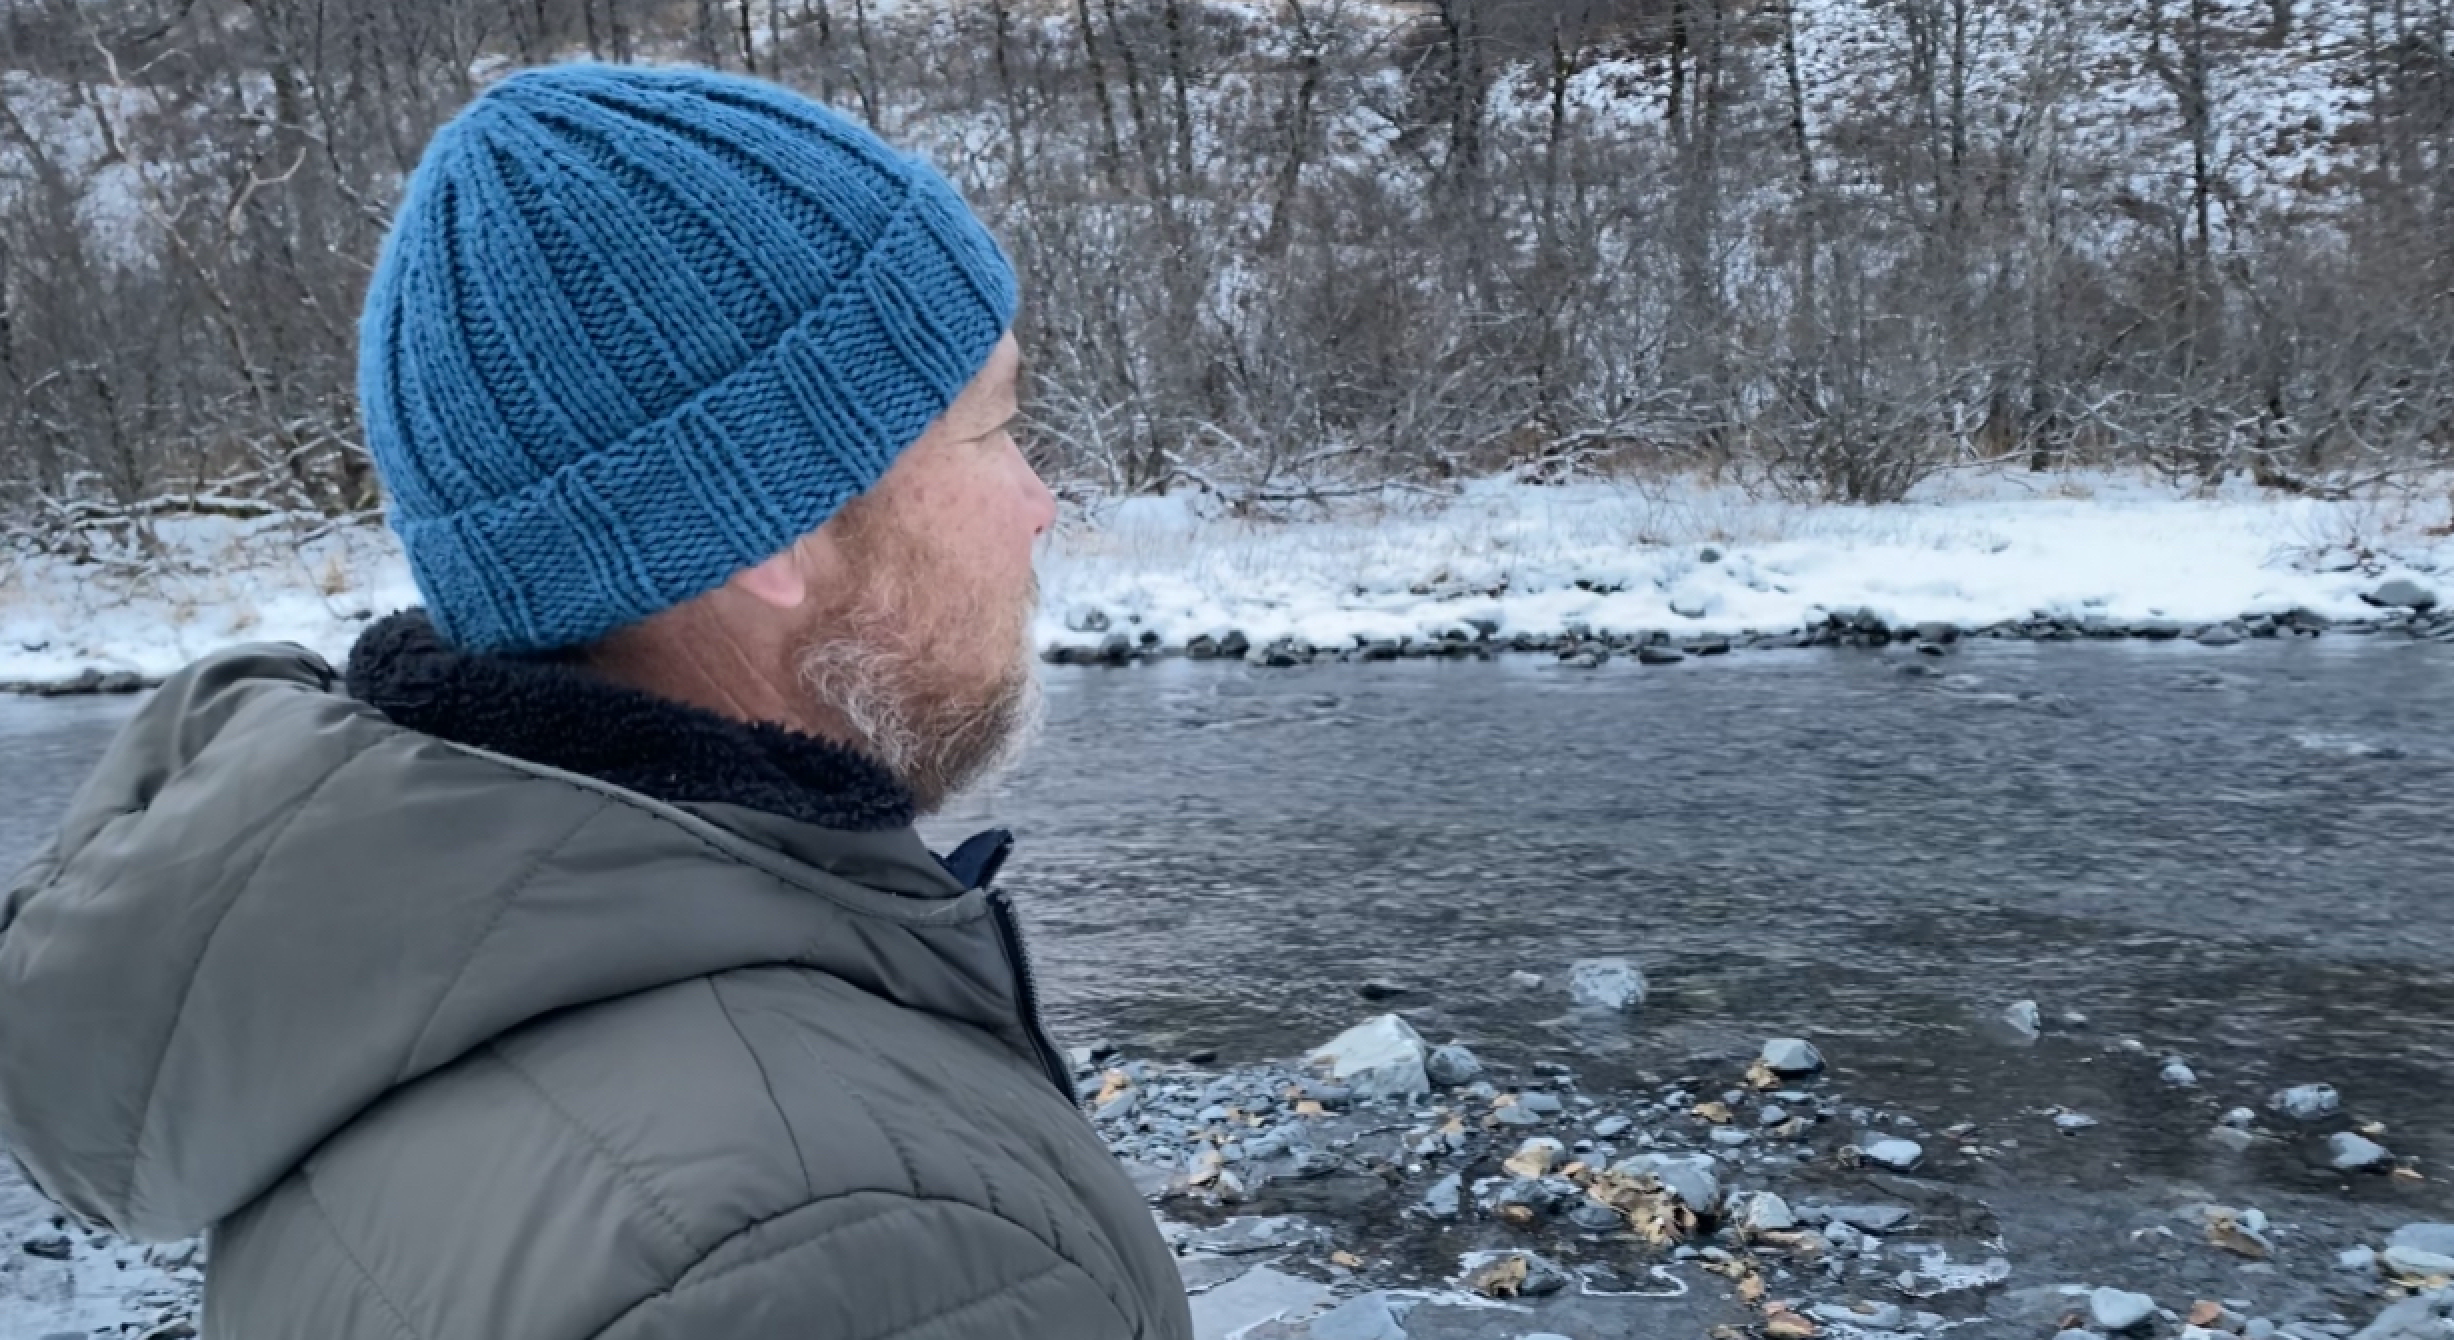
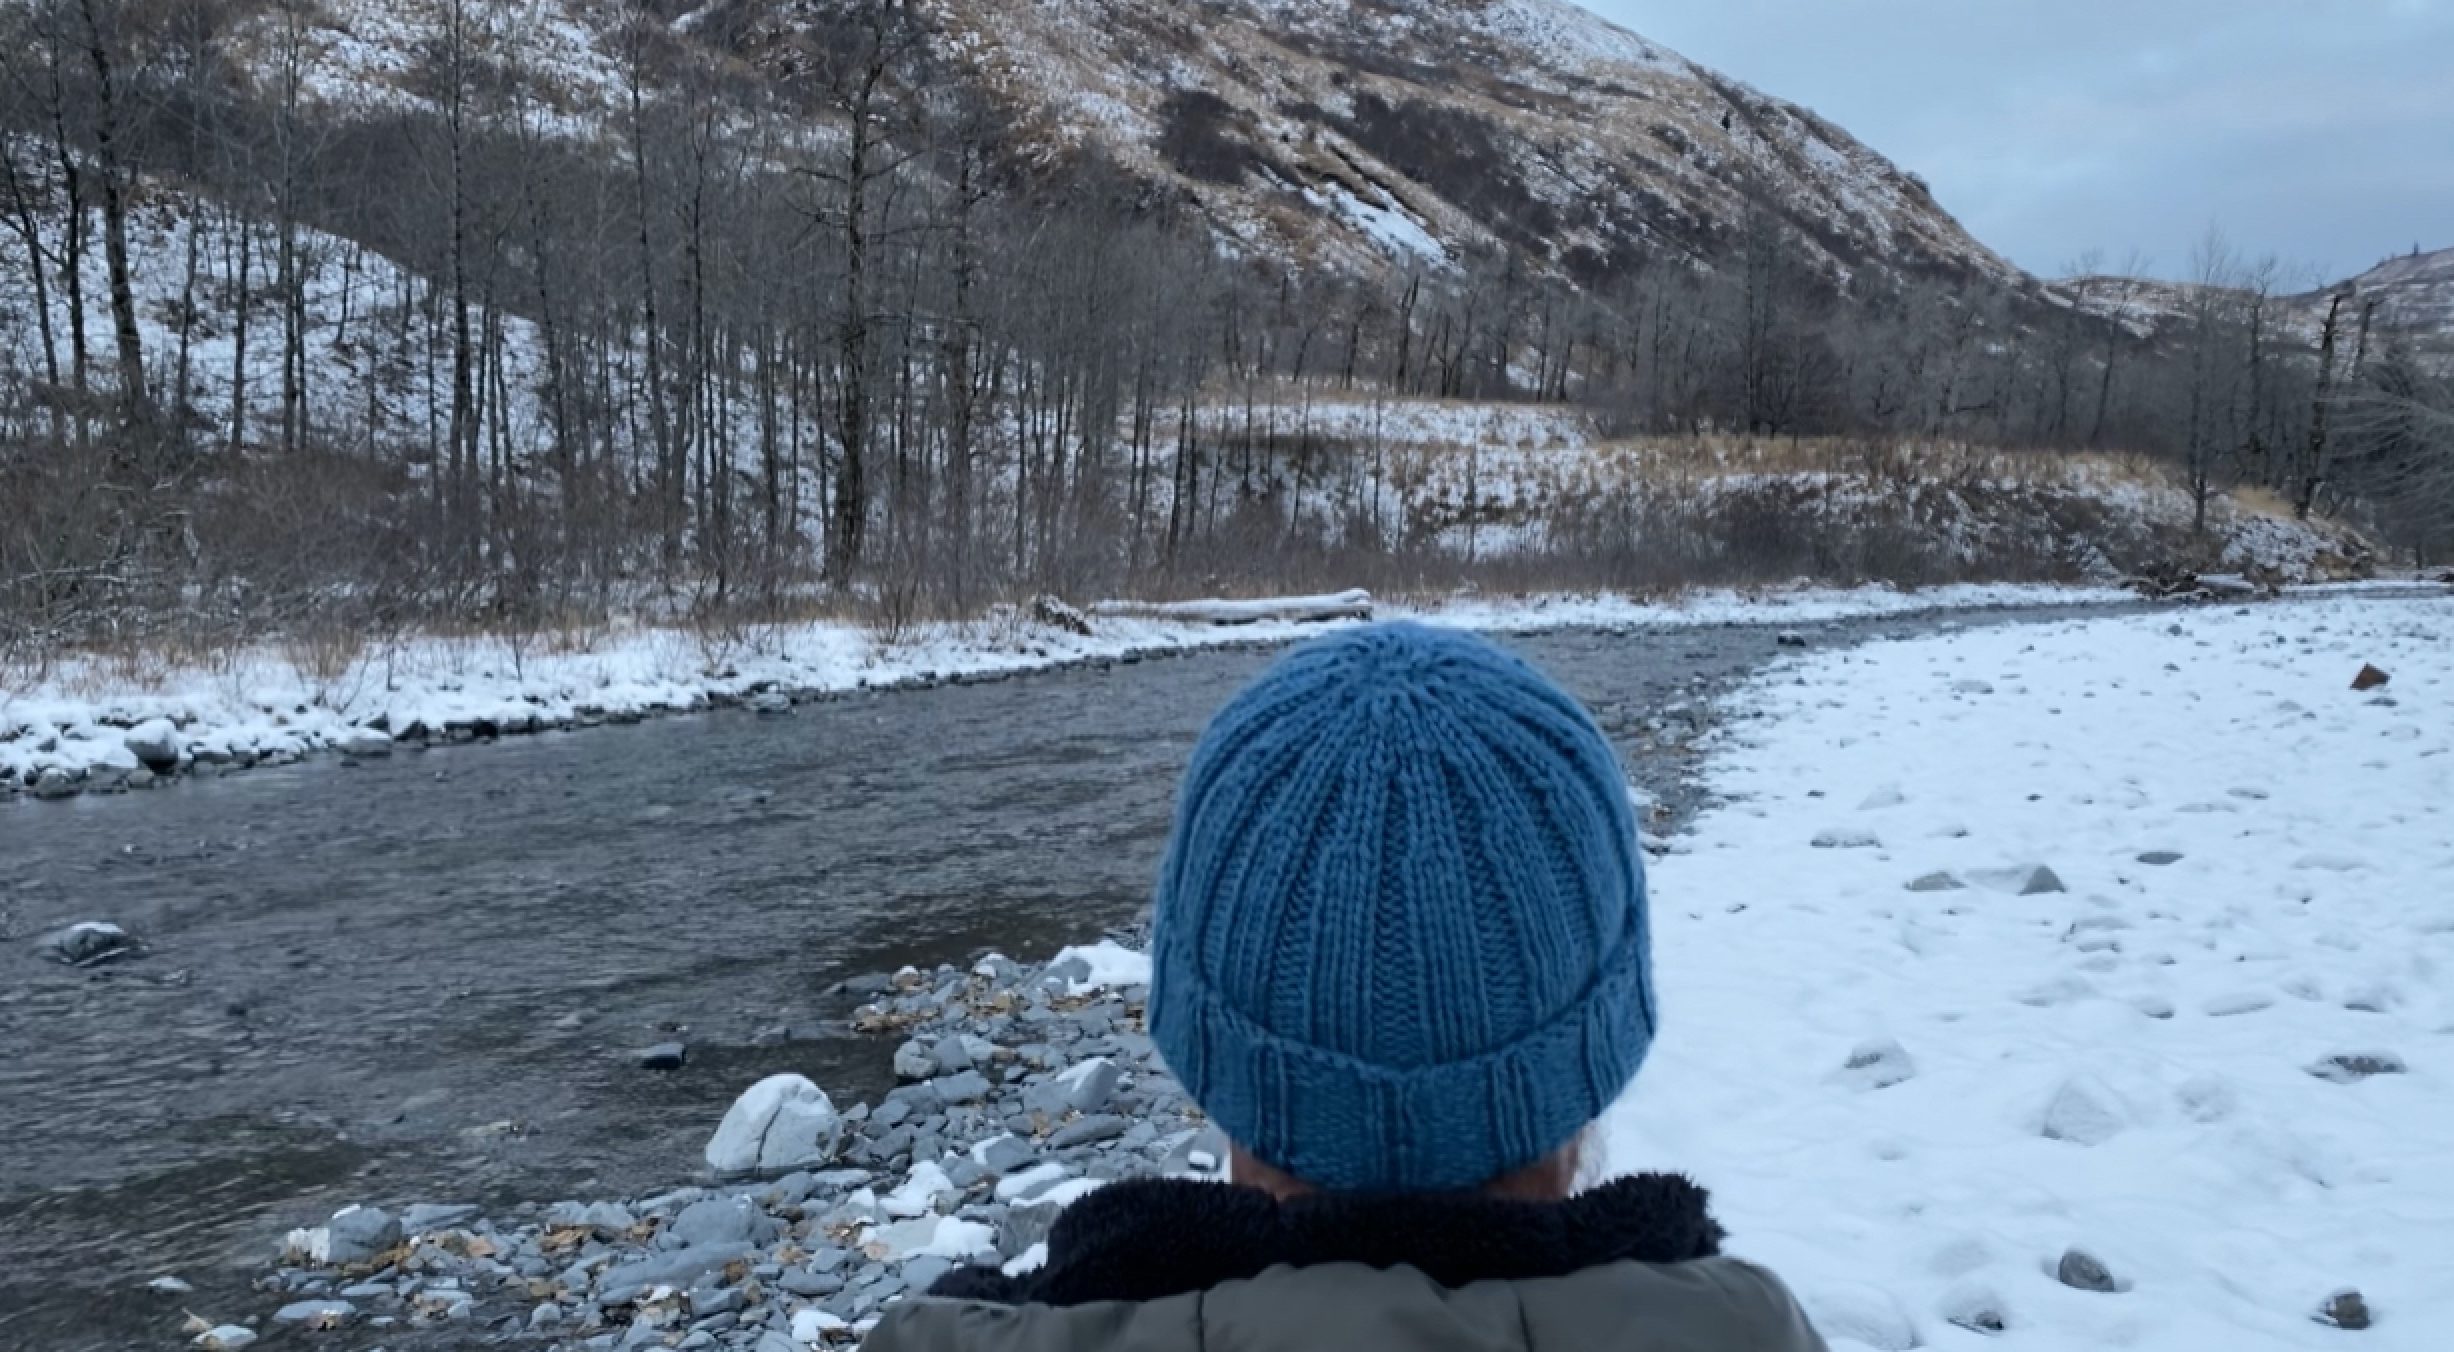
Last year my husband had a terrific, Brooklyn Tweed yarn, hand knit hat created by yours truly. He spent so much time on the BT website looking through yarn and hat ideas. It was a delight to see him participate in the creation of this hand knit. Once the yarn arrived I put it on the swift and set him to balling it. During that time we chatted about a variety of things, and the construction of the hat was, of course, part of that. He was keen to have a heavily ribbed, large brim to fold over, snug-fit, watch-cap. I smiled then, as I am smiling now, because he was so darn excited about me making him something, HIS SOMETHING, a hat that was just for him.
That hat was worn all the time once completed…
until it couldn’t be found.
Yup. My little kitten, he lost his knittin’
And he broke the #1 handknit worthy requirement: DO NOT LOSE THE HANDKNIT
But I watched him search everywhere for the hat, and I knew it wasn't intentional.
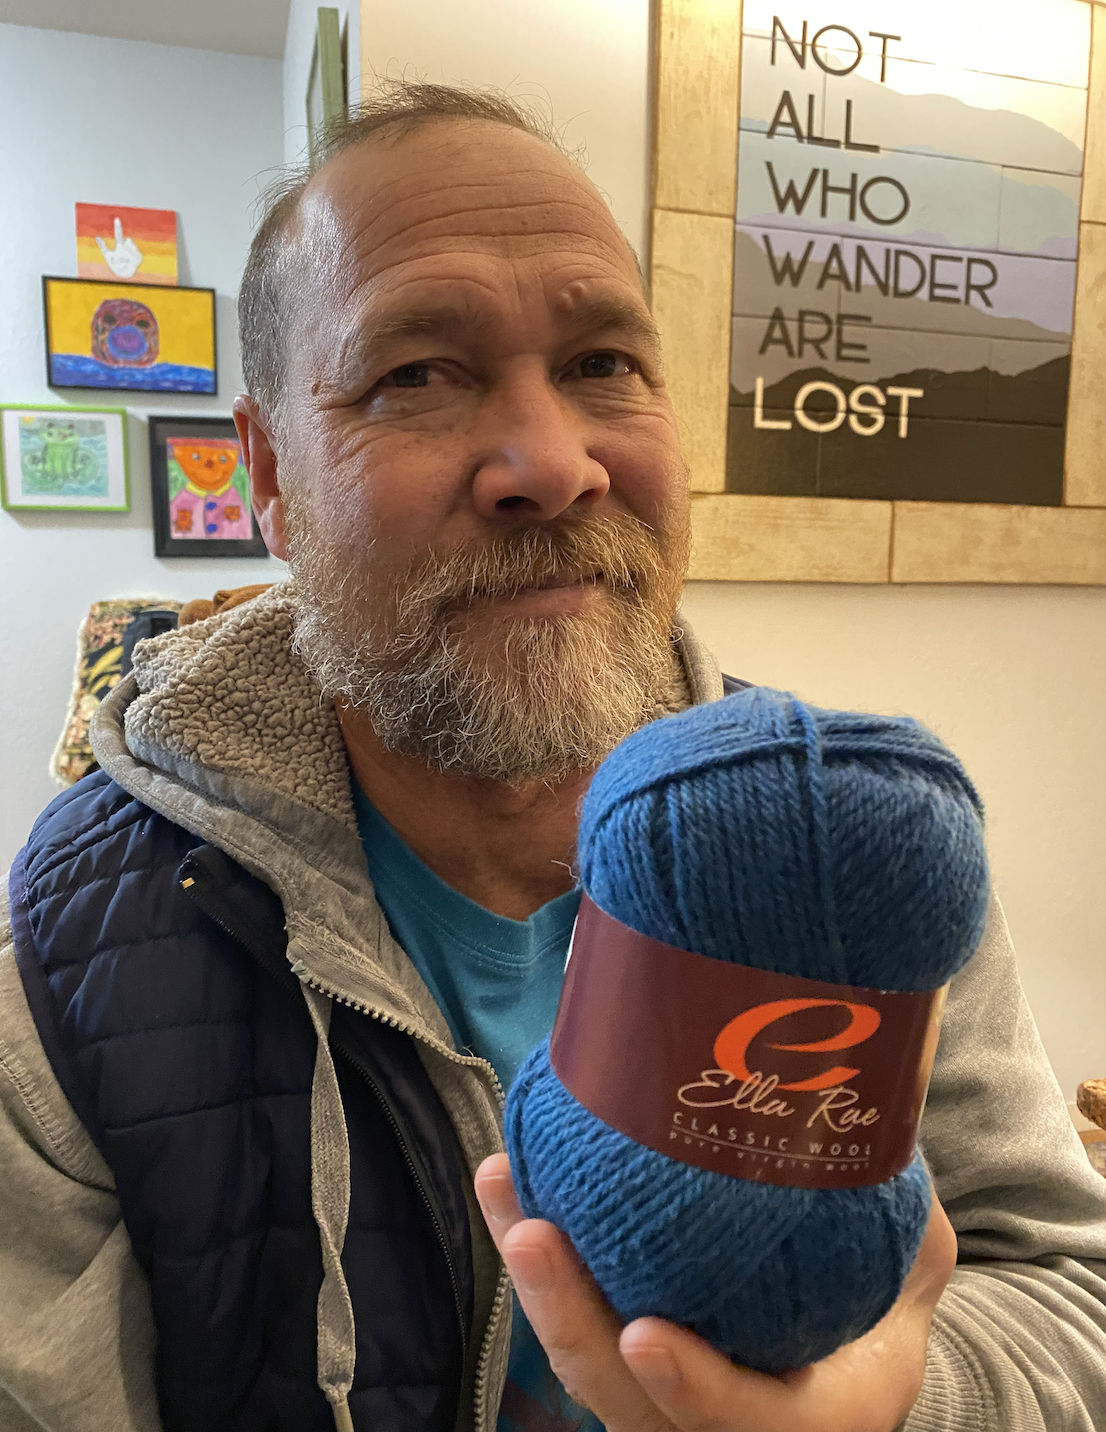
So when he came to me on Wednesday night with a ball of Ella Rae yarn from my brainstorming basket and asked gently:
“Can you work your magic with this to make me a hat?”
I asked him to sit very still and say that again so I could take his picture. And I threw out my silly rule and got to work.
Friend, it was a great decision!
Every few rounds he would ask: Should I try it on now? and happily I would hand it over. On it went and more talk ensued about the brim length, or the yarn, or the optional possibilities of construction past the brim. He marveled at how quickly it was growing and “at this rate I will wear it tomorrow!”
I knew I could make it happen, but I played down that possibility just to have a bit of fun with him. I forgave him for losing the other hat, but I hadn’t forgotten hahaha.
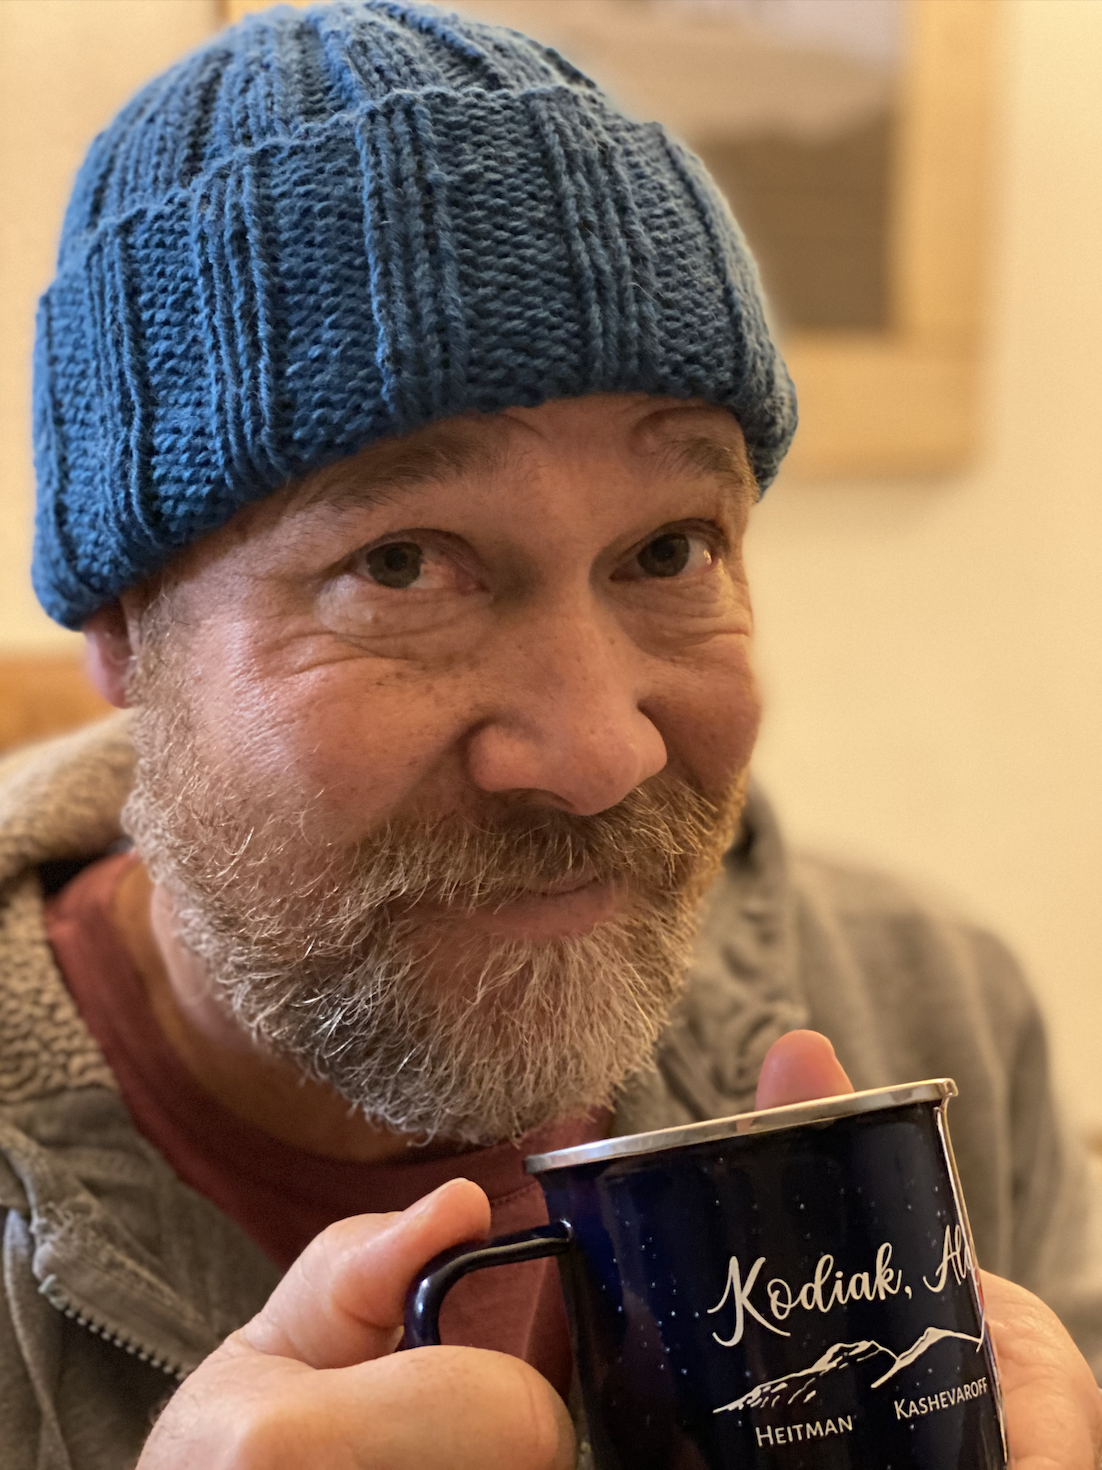
And when he awoke he had a new hat.
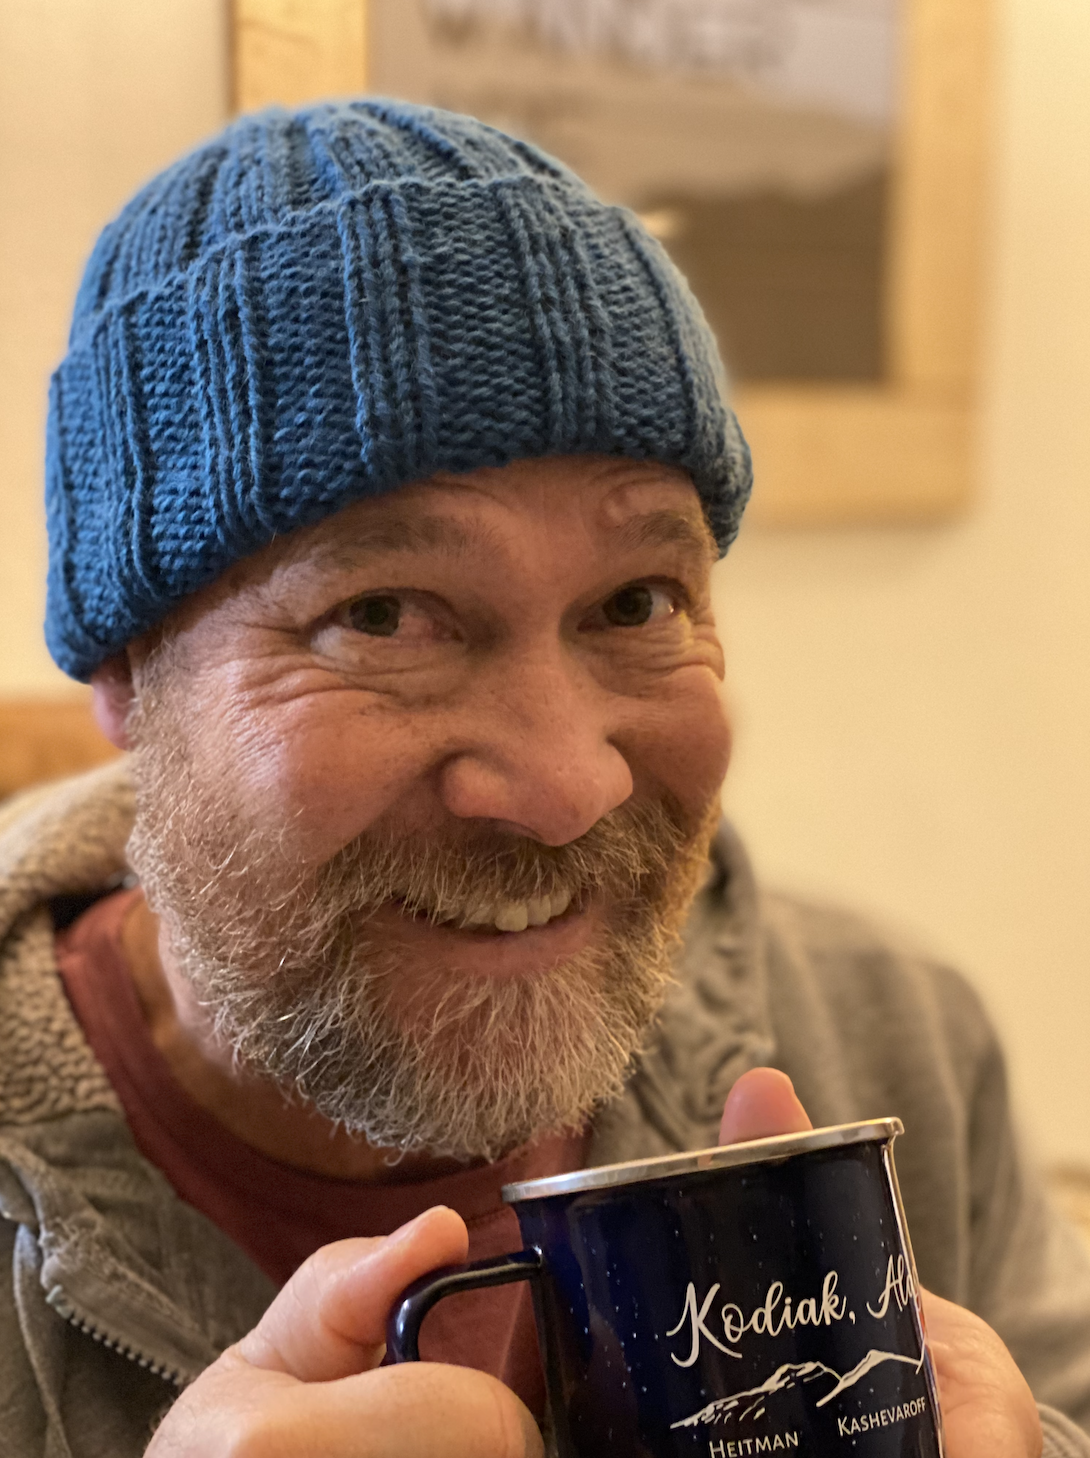
And I have joyous memories to keep, as well as a free hat pattern for you!
This pattern assumes your ability to knit and purl. We work some purl decreases and some knit decreases. We cinch the to securely and call it a hat. My friend you too can be the amazing hat fairy to someone else…and do it magically overnight (if you want, but it isn’t a race, so take time to savor it if you choose!) Also you can make this magic for under $10!


I bought this Ella Rae yarn from The Rookery, my local yarn shop. I am going to brag on Chris for a moment. She is doing her best to keep her yarn and fabric store accessible to the creative community. She is working hard to pivot in these times. So if you find it hard to connect with a Local Yarn Shop of your own, or you just want to support small, I want to share mine with you! I also encourage you to follow her on Instagram (Click here!) She carries this Ella Rae yarn in a bunch of colors, maybe all the colors. And a ball of it, which is all you need for this hat, is $7.95.
Let’s gather supplies:
Ella Rae Classic Wool 219yards/200 meters 100% wool (non-superwash) is what I chose in Color 341 and
Size US 8/5.0mm needles (circs or dpns your call!)
1 stitch marker is all that you need to get started. At the very end of things you will need a tapestry needle to bind it all up.
Notes: To knit the version shown which fits snugly on size range 21inch (my head size if you saw in the video) to a 23.5 inch (as shown on my husband) you will use the entire skein. If you plan to do the size larger, or make hat longer, or if you are not going to check gauge have an additional skein on hand otherwise you will not have enough yarn. You can reduce the length of the hat by 1.5 inches and safely fall into the safe area and avoid losing at the game of yarn chicken.
Gauge unblocked, laid naturally and not stretched: Over 2 inches you will have 13 stitches, 12 rounds.
To knit the hat: Using long tail method, loosely cast on 75 stitches holding 2 strands of yarn together. Do not join. Row 1 is the wrong side of the project.
Row 1 : [Purl 3, Knit 2] across all stitches
Row 2: [Knit 3, Purl 2] across all stitches
Row 3: Work as Row 1
Row 4: Work as Row 2 and at the end of row, place your stitch marker and join to work in the round. You will be able to see a bit more easily your established work and avoid having it twisted as you join.
Round 1: [Knit 3, Purl 2] across all stitches
Continue to work as round 1 until work measures 8 inches from cast on edge. (if you want a shorter brim as opposed to a 3.5 inch folded brim, knit less. If I were to knit this for myself I would work for 5.25 inches.)
It is important to note from the first decrease to the end of the hat, which is the top of crown, there is about 3 inches.
Decrease Round: [Knit 1, Slip 1, knit 1, pass slipped stitch over, Purl 2] repeat for round (15 stitches decreased, 60 stitches remain)
Next round: [Knit 2, purl 2] for round. Work 4 more rounds this way (a total of 5 rounds)
Decrease Round: [Knit 2, purl 2 together] repeat for round (15 stitches decreased, 45 stitches remain)
Next Round: [Knit 2, purl 1] repeat for round. Work 2 more times this way (a total of 3 rounds)
Decrease Round: [Slip 1, knit 1, pass slipped stitch over, Purl 1] repeat for round (15 stitches decreased, 30 stitches remain)
Next Round: [Knit 1, Purl 1] repeat for round
Decrease Round: Knit 2 together (15 stitches decreased, 15 stitches remain)
Leaving an 8 inch tail, break yarn and thread tapestry needle. Slip all stitches from knitting needle on to tapestry needle and pull tightly. Run the thread through the cinched top of hat once more and secure. Trim end.
With the cast on tail, stitch the start of the hat together.
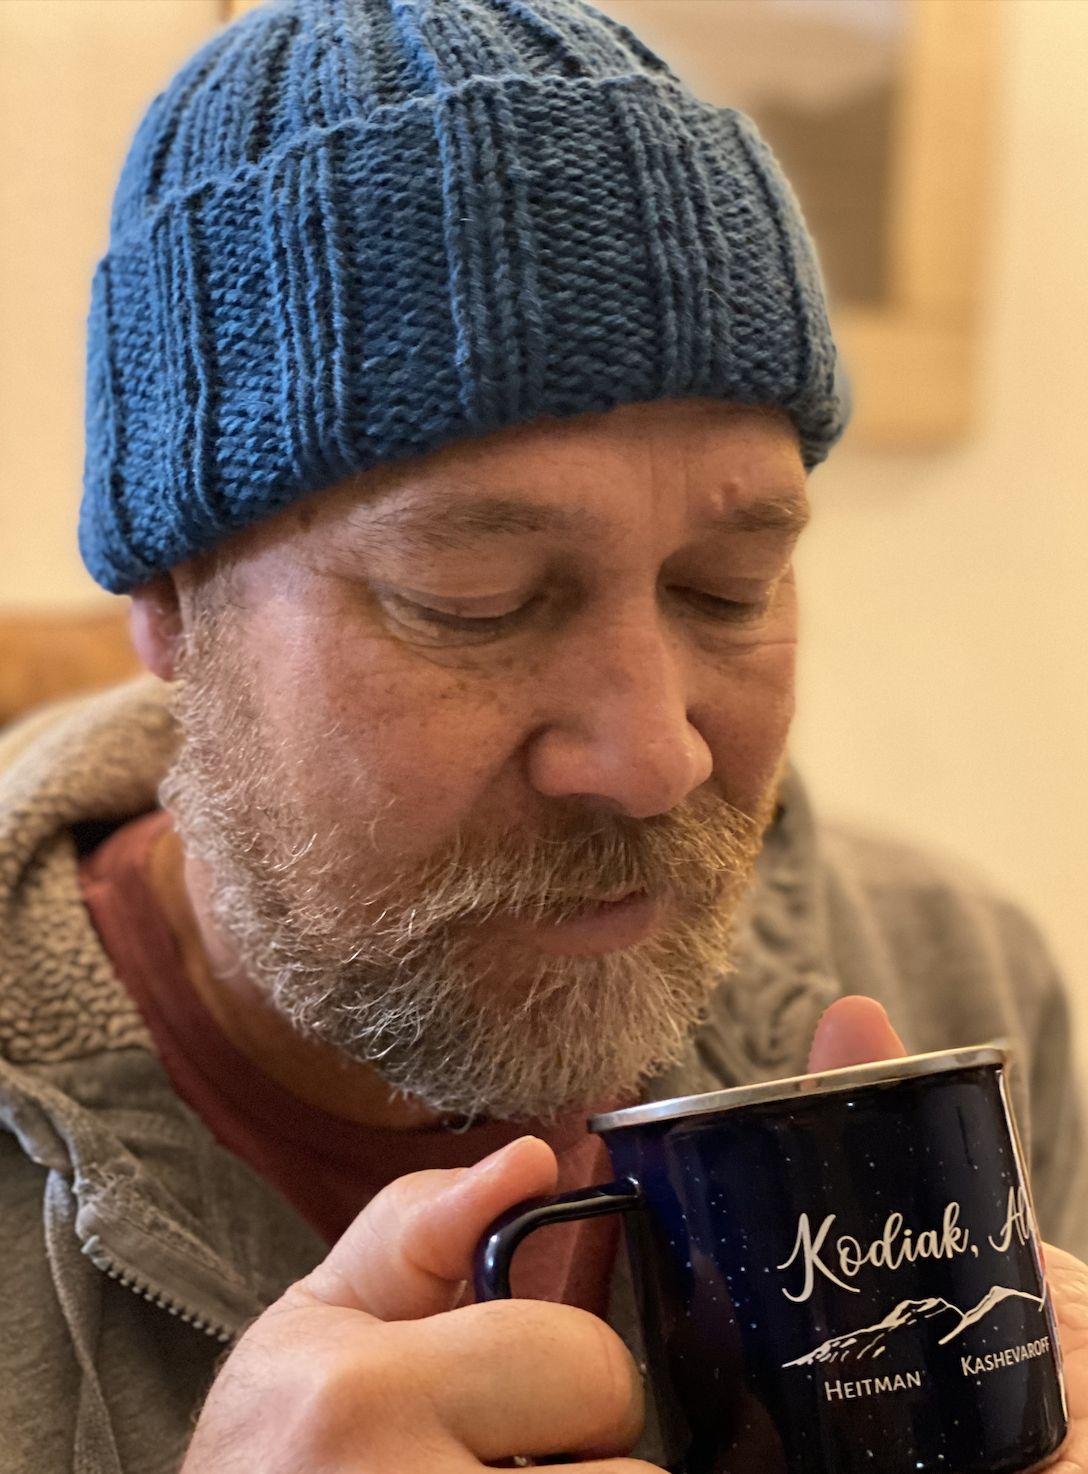
I did not soak or block the hat. I simply presented it to him as I handed him his morning cup of coffee. It was a sweet and happy moment.
To make the hat smaller or larger add 5 stitches or subtract 5 stitches. You will adjust up or down the repeats as well as modify the decreases and numbers accordingly. Need help with those numbers? Ask in the comments.
Well my friend, I hope between this hat story & pattern and the podcast, you have found a little diversion today to bring a smile to your face!
Catch me up on you in the comments!